By Kathryn Washburn Breighner

A month or so ago, I listened to a food show on making sauerkraut that recommended a 21-day 'curing' period. We were heading to Europe within the next 21 days and I wouldn't be here to tend to the curing kraut and while in Berlin, I had some fresh kraut. And I knew I had to do this.
Easy? You bet. And the flavors are unlike those found in the grocery store. All it takes is cabbage, seasonings like caraway, salt, water and something to put the mixture in. I chose to make the sauerkraut in quart jars but this can also be done in a large ceramic crock. One disadvantage of making this in the jars is that it takes some time to pack the cabbage into the jars.
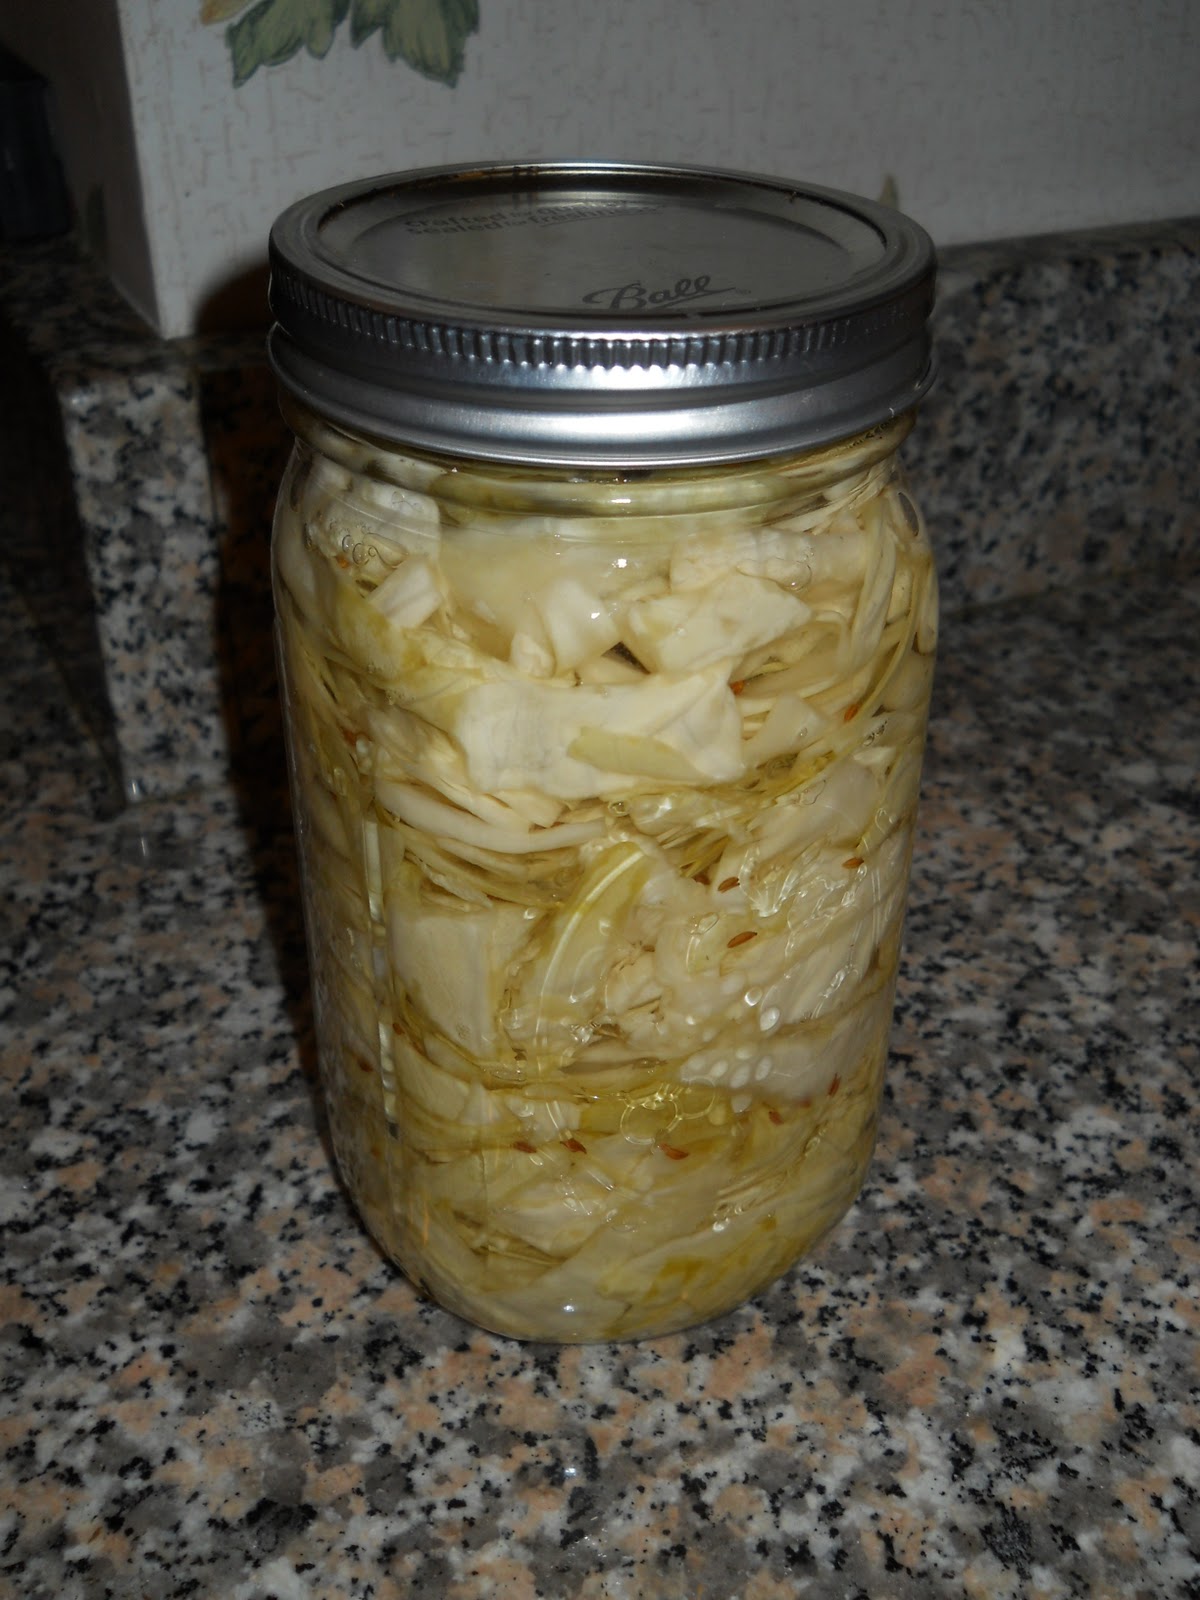
For my kraut, I diced 2 heads of cabbage into small dice and tossed with 1 T salt and let sit for several hours. To this I added 3 T caraway seeds and then packed tightly into quart canning jars. I used the flat end of my rolling pen to compress the cabbage. To some of the cabbage, I added chopped apples (our orchards went crazy this year!), onions, and fennel seeds.
Next comes salt water, 1 T to a quart and poured over the chopped cabbage in the jars until the liquid covers the cabbage. Finally, I topped the mixture with a leaf of cabbage. This leaf doesn't have to be covered with liquid but its presence prevents the build up of harmful bacteria. The jars were closed with a canning jar lid and ring.

What happens over the next few weeks is called fermentation. Every 4-5 days, I loosened the lids. What a surprise! A great deal of pressure built up in the jars. I placed the jars on paper towels in a baking pan kept in a room temperature space. More than once, the brew inside the jars spilled out of the jars. Those jars were at work!
This week, 21 days after I packed the kraut, we had the first jar which I rinsed and drained twice and then cooked with onions, carrots, and chicken stock. It is still crunchy and oh, so tasty. Now what to do with my jars? Two choices: they can stay in the refrigerator for six months or they can be canned. I will put some in the refrigerator and can the the rest for gifts. I did two rounds of kraut making and have nine quart jars of this glorious stuff.
An alternate method to making kraut would be the traditional method of placing the cabbage in a crock and covering with the salt water brine and then topping with a plate and a heavy object like a brick to compress the kraut. Once the 21 days have passed, the kraut can then be placed in jars to refrigerate or can. I tasted my kraut several times during the three weeks of brining and at 21 days, the flavors were intense. The kraut can continue to cure beyond the 21 days, up to 6 weeks.
 In a serving bowl, add: